SO there are 228 days until MY WEDDING! I planned on sharing with you my wedding planning, but I think I am going to save it all for a post series after I get married so I can better evaluate what worked/what didn’t and offer better advice. Plus, I don’t want to give away all my surprises in case some of my guests read my blog! Fun Fact about my venue I will share — my parents got married on the SAME grounds. What I mean is that, 30-so years ago when my parents exchanged vows, Poland was under communist control and thus a lot of the castles, for instance, were destroyed – they were abandoned ruins. My parents had their wedding reception in small function hall that had this particular castle that I am getting married at in the background. Yes, Nico and I are getting married and having our 3 day wedding celebration in a castle. Nico is very interested in history (as is my dad actually! He is such a history buff) and for me, well I’m lucky I passed history class in school! I do however, love knowing there is so much history (not just family history either!) involved where we will be saying our I DOs. You can read about the history of Moszna Castle here.
I snapped some photos while I was there with my mom, uncle and grandmother earlier this summer. The pictures don’t fully capture the historical magnificence though – you need to see it yourself to experience it – and lucky for our wedding guests – they will!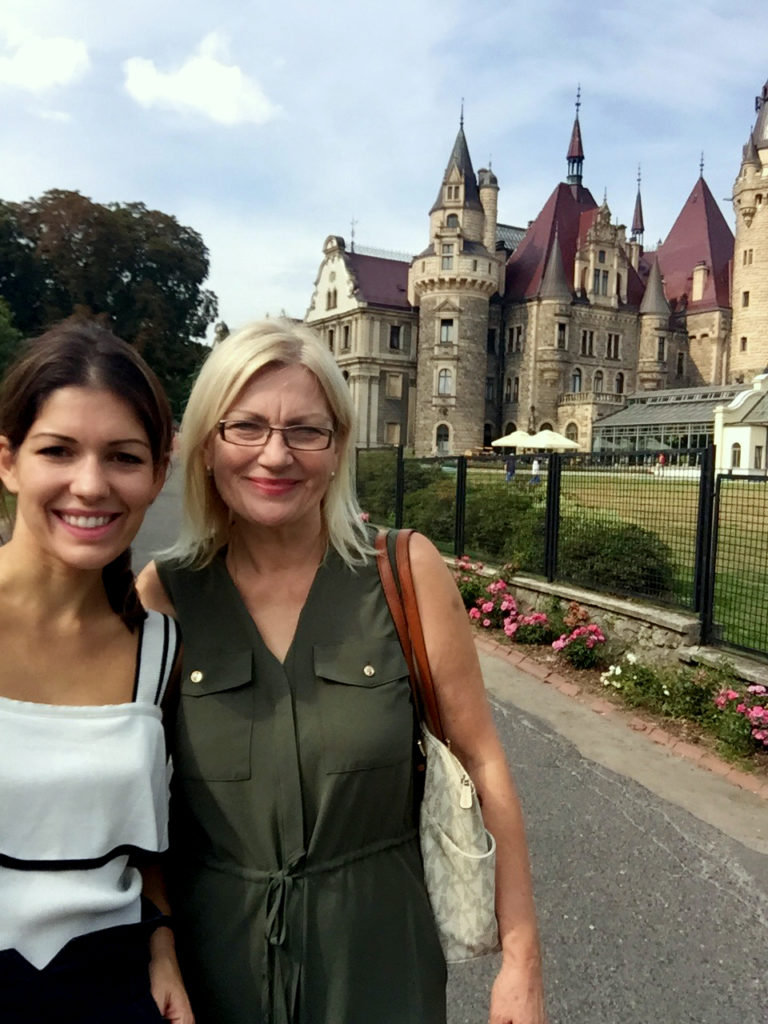
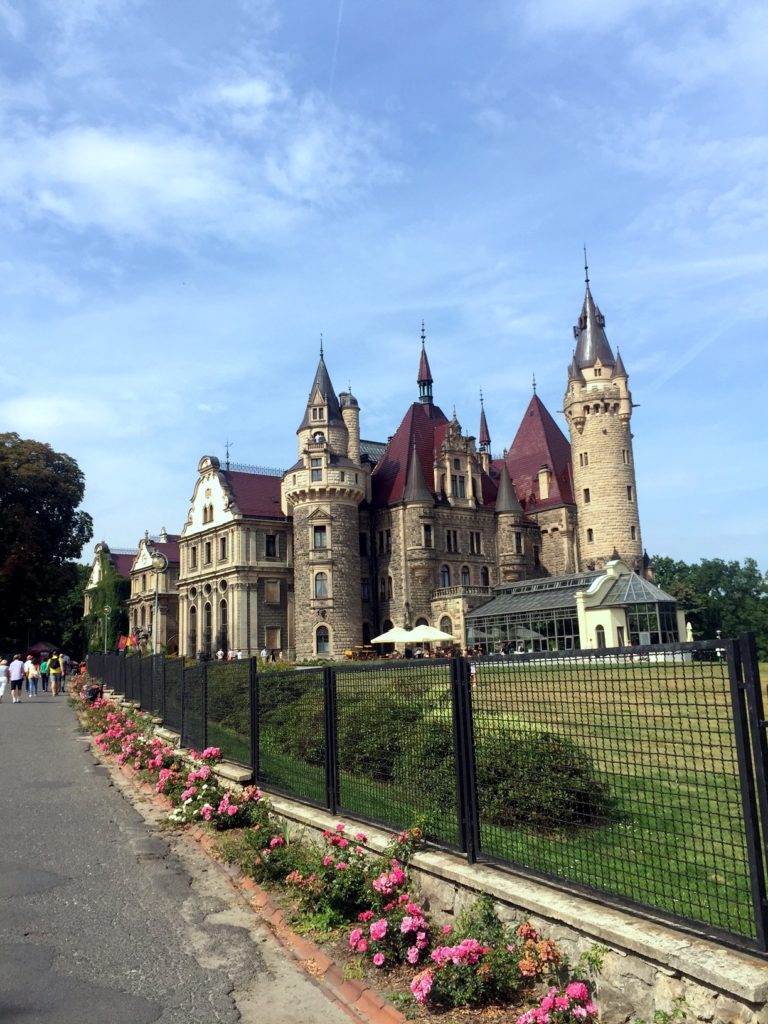
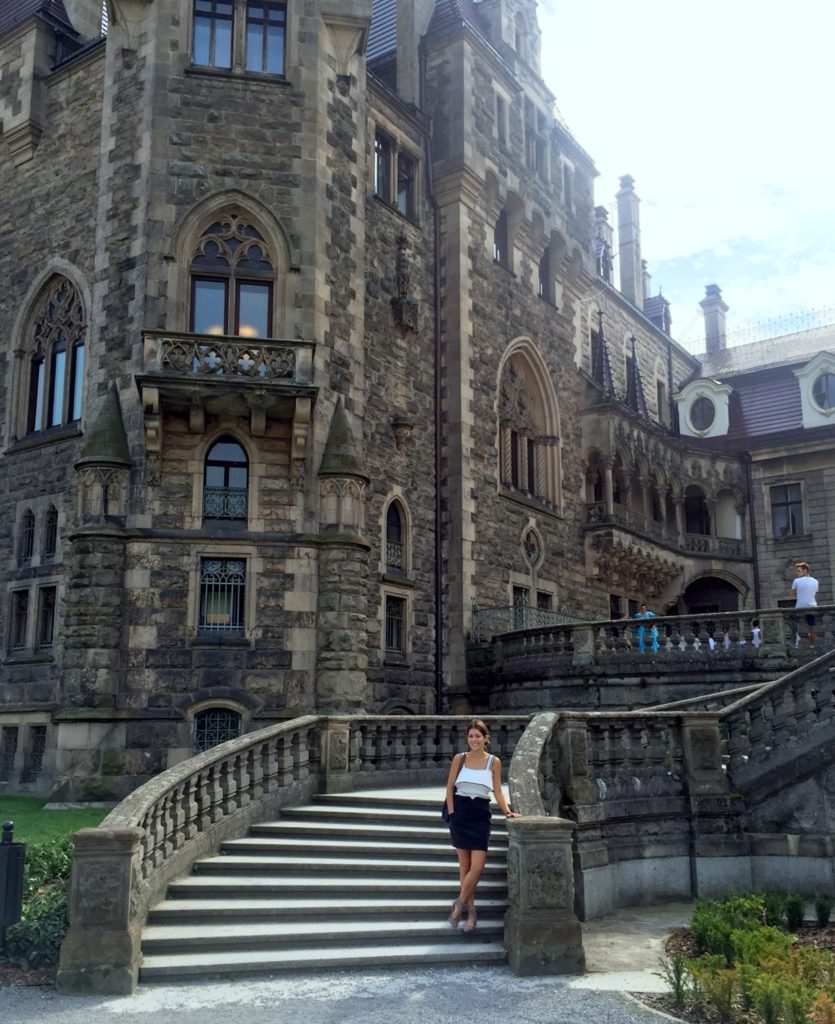
like yes this is a REAL CASTLE and I cannot wait for next summer!!
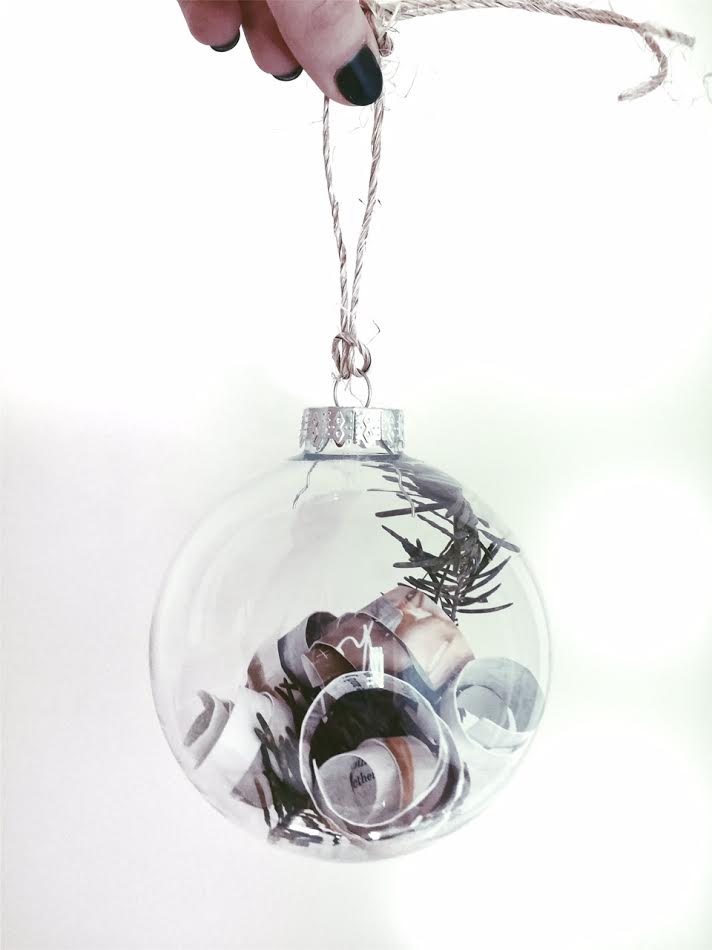
Back to my DIY project —-once you got the venue and the date picked out, you are able to send out Save-The-Dates! Since our wedding is overseas, we wanted to send ours out well in advance to our guests in the states. Tip: when making your guest list, you do not need to order save the dates for EACH person, especially for a couple or if you’re sending it to the same address. I must have been so excited to order ours from Shutterfly that I ordered one for every single person, which means I have A LOT of extras! Luckily, there are some cute DIY projects you can do like these Christmas Ornaments.

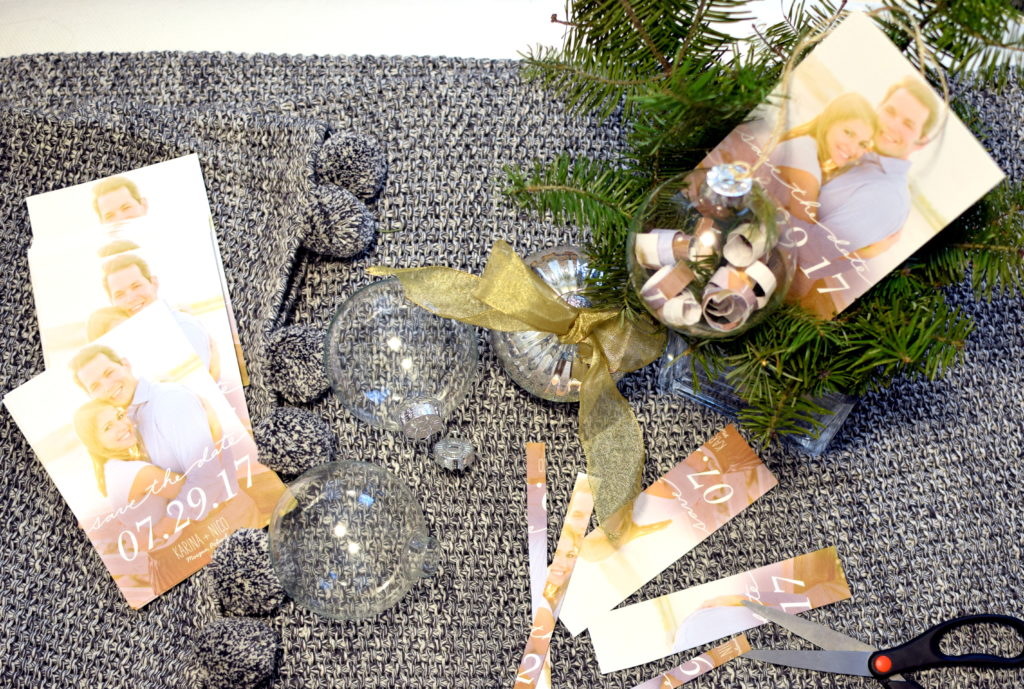

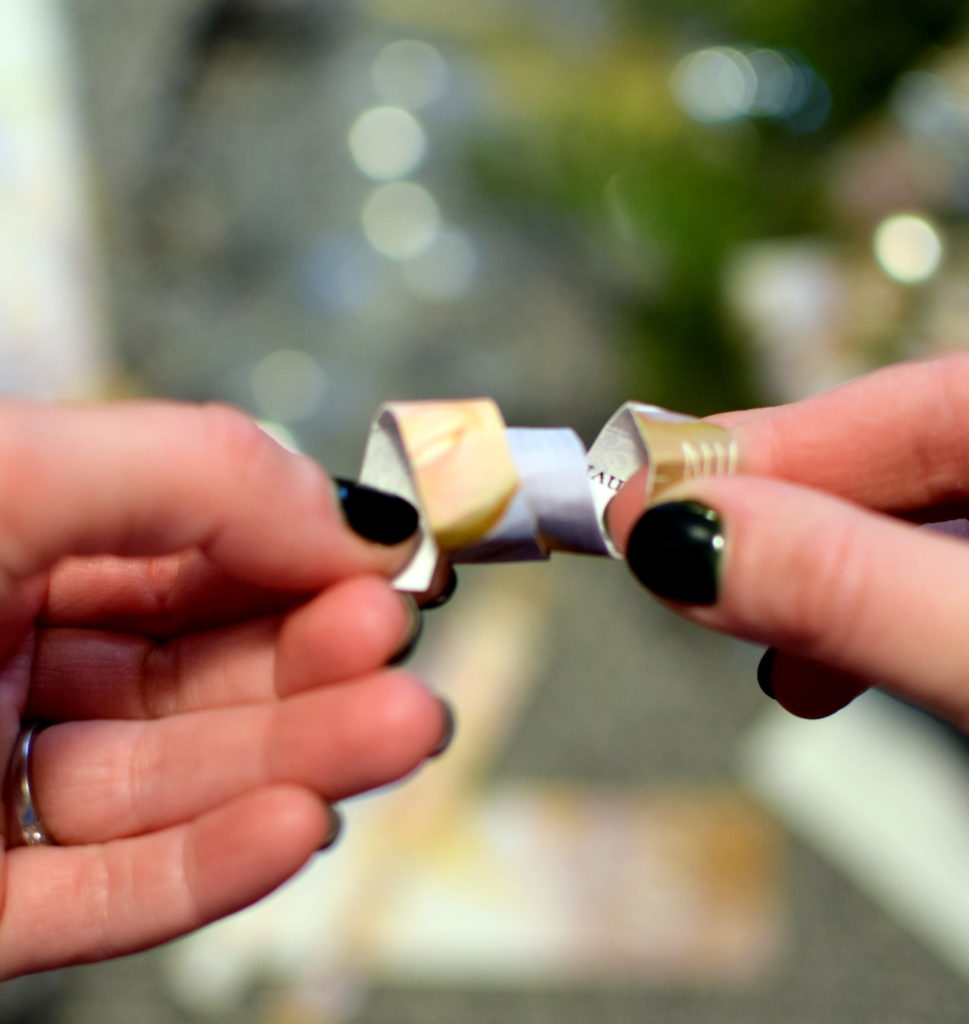
Step One: Purchase glass or plastic ball ornaments at your local craft store (or here and here) and cut the paper into thin strips — I made mine all different sizes.
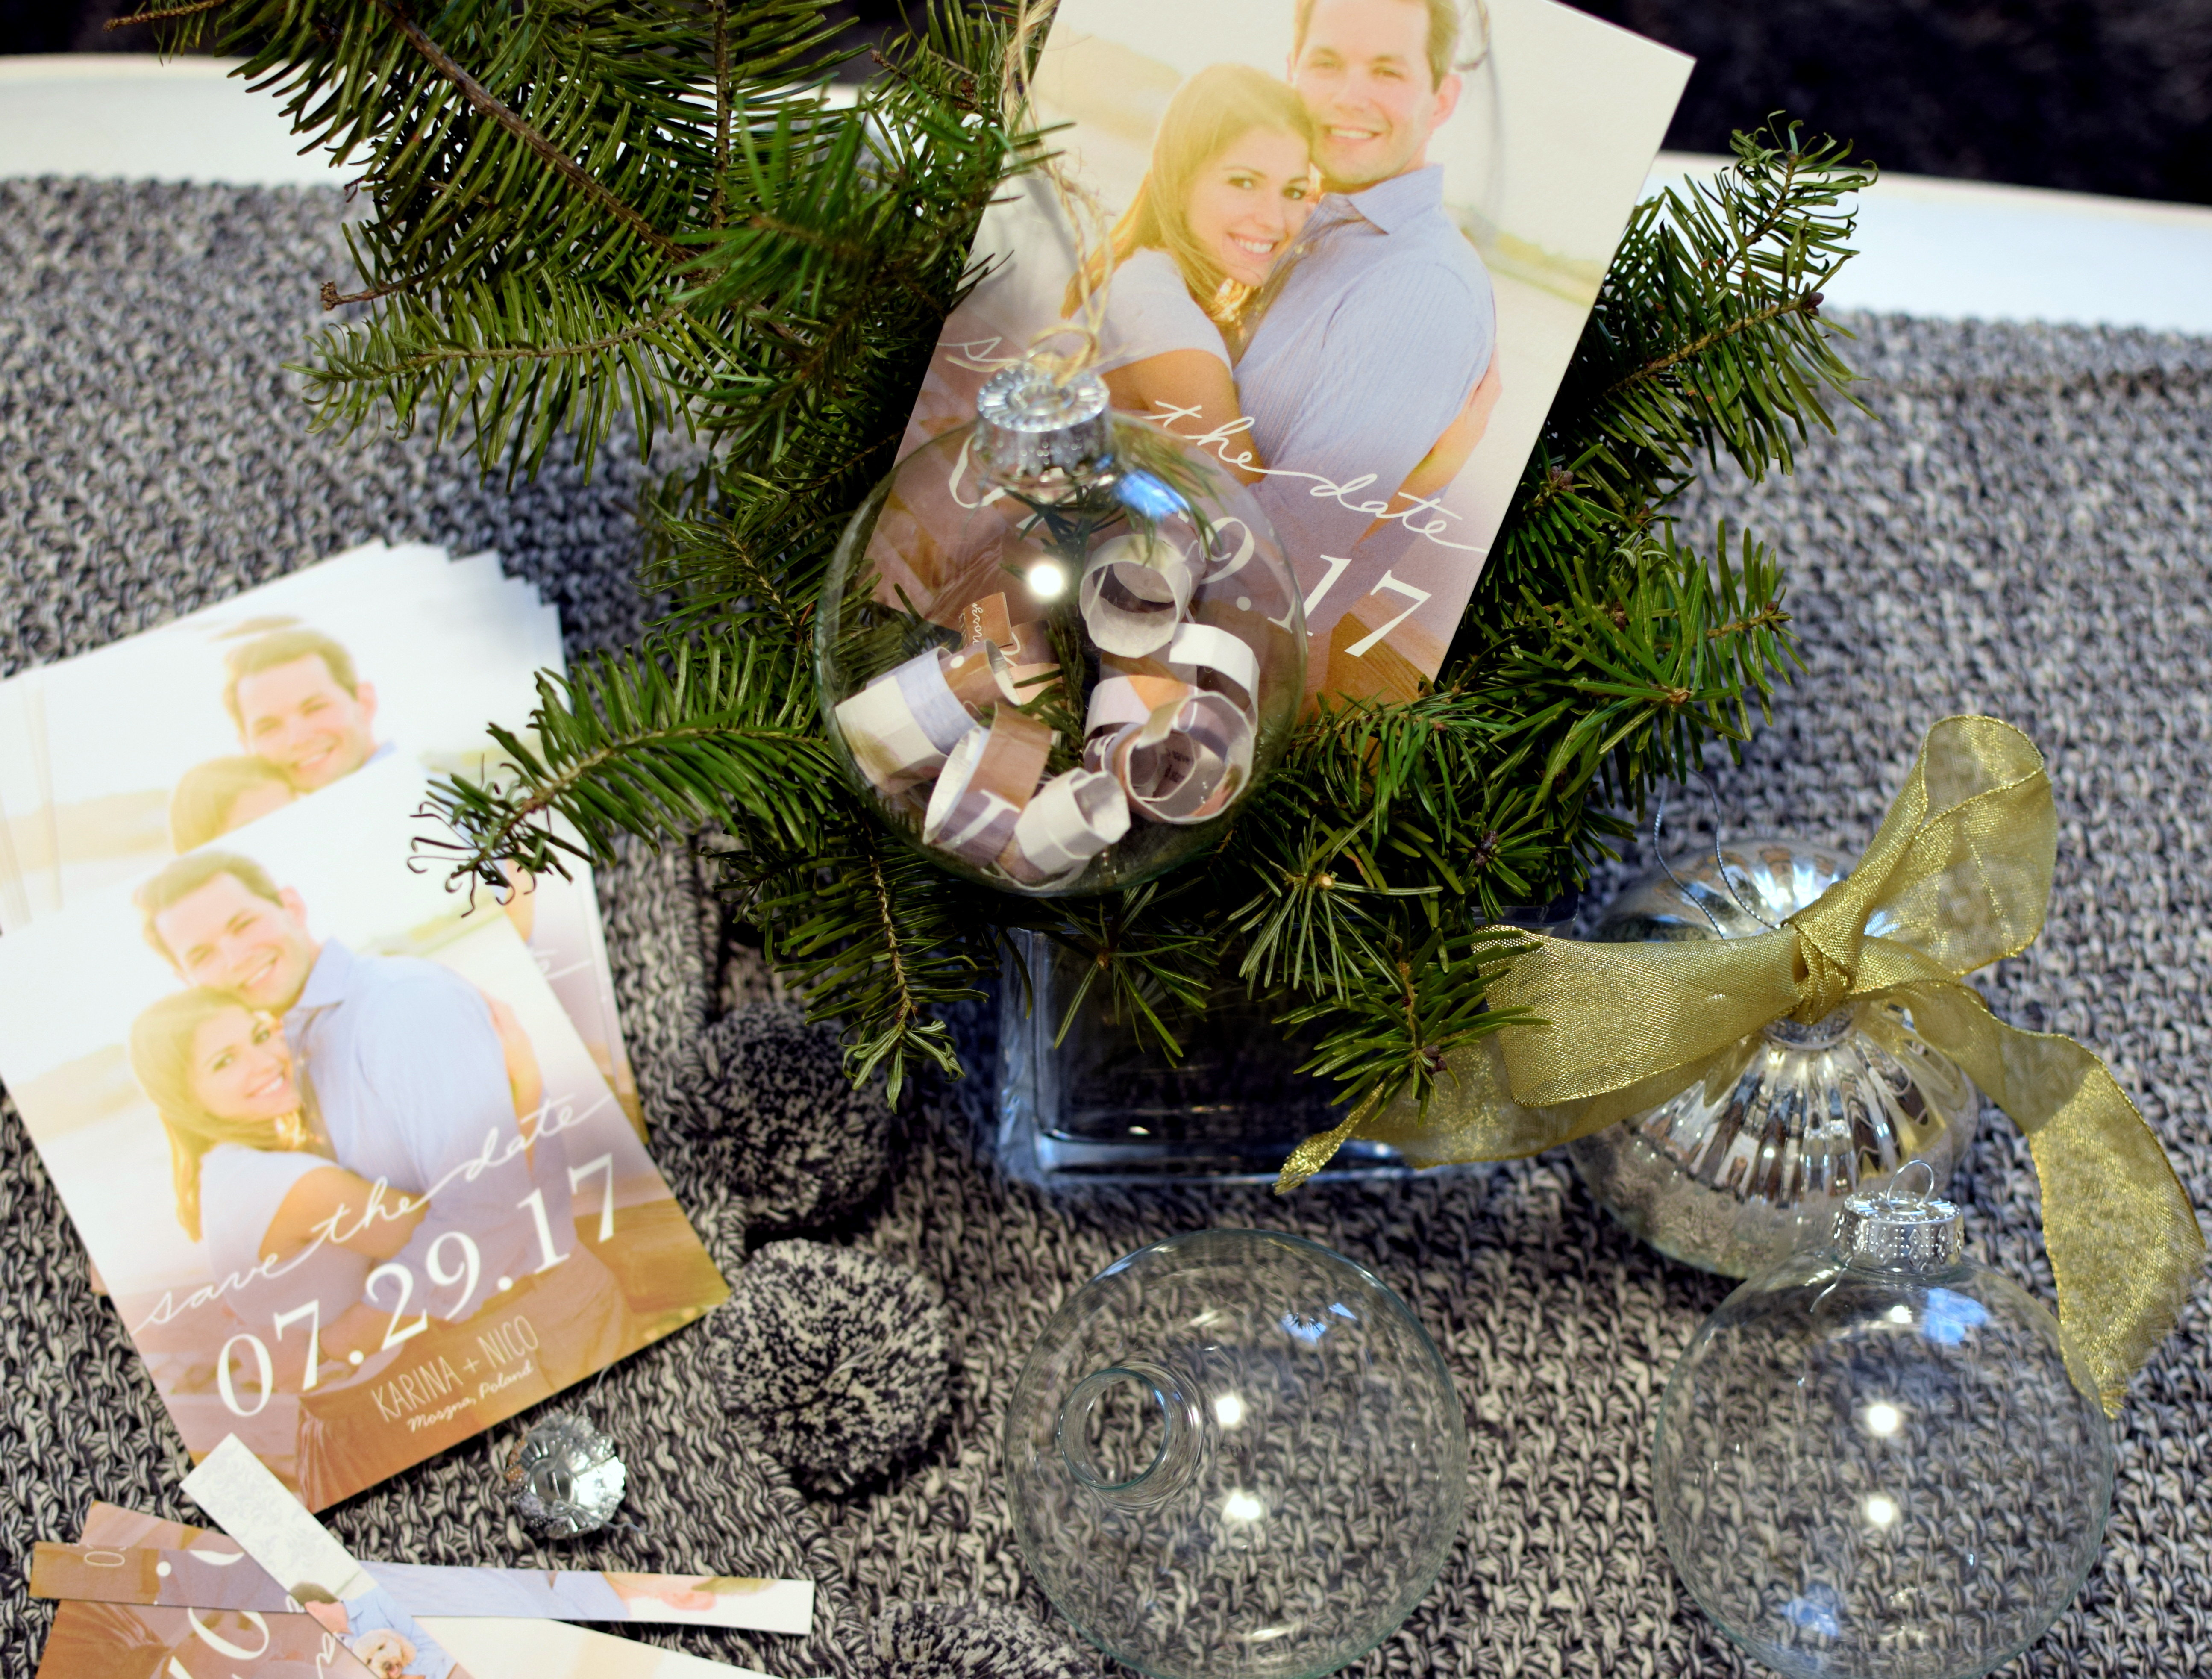
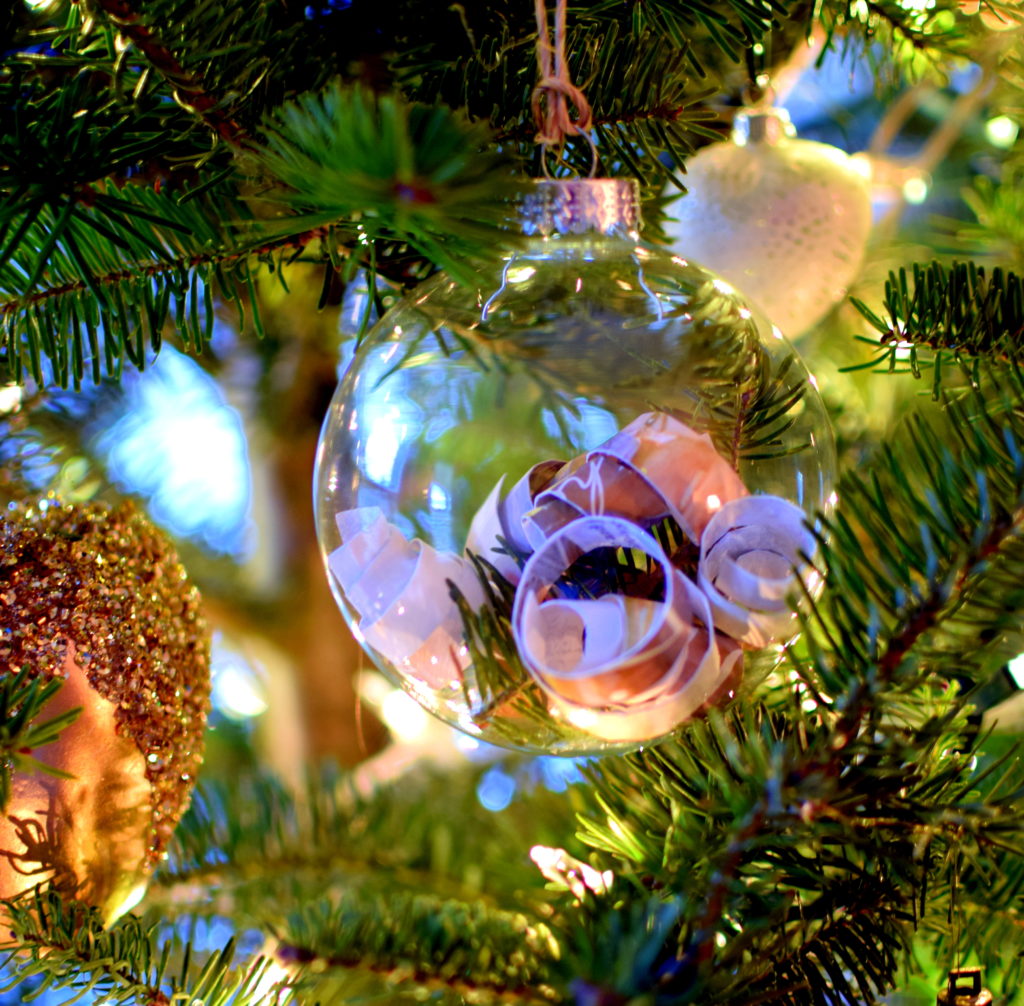
Step Two: Roll the strip around your finger – giving it some shape so it creates a prettier visual in the ornament. Drop it in the ornament ball.
That’s it! I used some ribbon that I had left over from the bridesmaid boxes I made.

Special Deals on Shutterfly for the Holidays:
Get Two Free 8×10 Prints! Valid 12/7-12/22 with code FREEPRINTS
40% off EVERYTHING with code HOHOHO
Thanks for reading! XO